

I got this adorable crafting paper pad at the Dollar Tree that matched some of the ribbon I had and knew I wanted to turn the prints into wall art for my baby girl’s room.

Here is the supply list I used to make my shadow boxes:
- Wood stain or paint
- 3 Crafter’s Square wooden trays from DT
- Crafter’s Square crafting paper pad from DT
- Mod Podge
- White chalk paint
- Matte varnish
- Micro sander or sanding block
- Paint brushes
- Foam brush
- Paper towels
Step 1: Stain all four sides of each wooden tray.

I am using Valspar semi-gloss interior paint in the color Milk Chocolate. I got this in the paint clearance section at my local Lowe’s. To give the stain-like look I wanted, I lightly wiped over the paint with a paper towel in order to see the wood grain.

I also made sure to stain the inside of the handles.

Step 2: Paint the bottom of each wooden tray with two coats of white chalk paint. I used the Waverly brand from Walmart.


This part is optional, but I noticed there were some rough edges on my trays, so once it was dry, I lightly n sanded over them to make my surfaces smooth.

Step 3: Once the paint is completely dry, apply an even amount of mod podge over it. 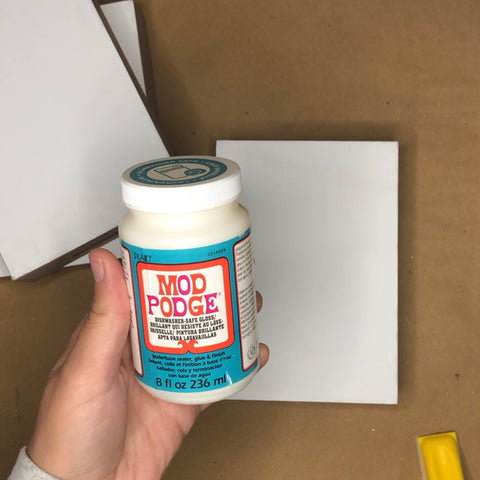

I used dishwasher safe mod podge because that is what I had on hand, but any mod podge or decoupage will do.
Step 4: Select the prints that you want to use on your shadow boxes and place on top of wet mod podge, gently adhering it to the surface with your fingers.

I chose one of the deer prints for the middle and two of the mushroom prints for either side.


Repeat this step for all three prints.

Step 5: Apply a sealant over the crafting paper prints and allow to dry. I used Matte Varnish by Waverly.


Step 6: Once the mod podge and varnish have dried completely, remove the excess paper by sanding the edges off in a downward motion. 
This is what the final product looks like.

And here is how I have them styled in my daughter’s bedroom!

I hope this DIY project inspired you. I would love to see if you made these too!
1 comment
This is beautiful 😍!